Role Management
Overview
Role Management lets Firm Admins control exactly which forms, reports, and databases each role can access. For example, you could create a "Student" role that only sees 3 forms and 5 reports.
You must have the Administrator role to access this page.
Assigning Permissions to a Role
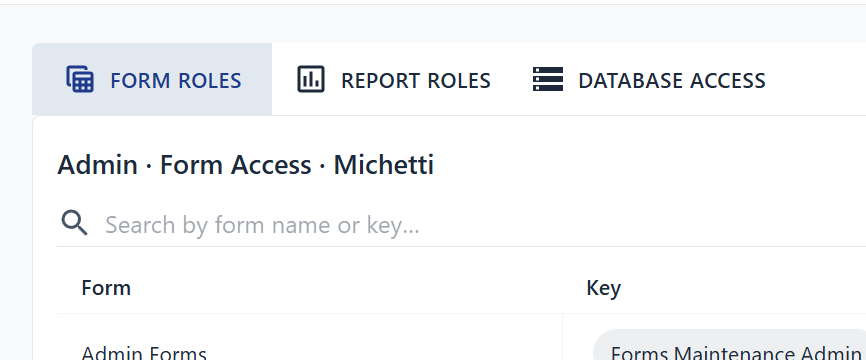
The Role Management page has three tabs — one for each resource type:
| Tab | What You Configure |
|---|---|
| Forms | Which application forms the role can open |
| Reports | Which reports the role can run |
| Databases | Which databases the role can connect to |
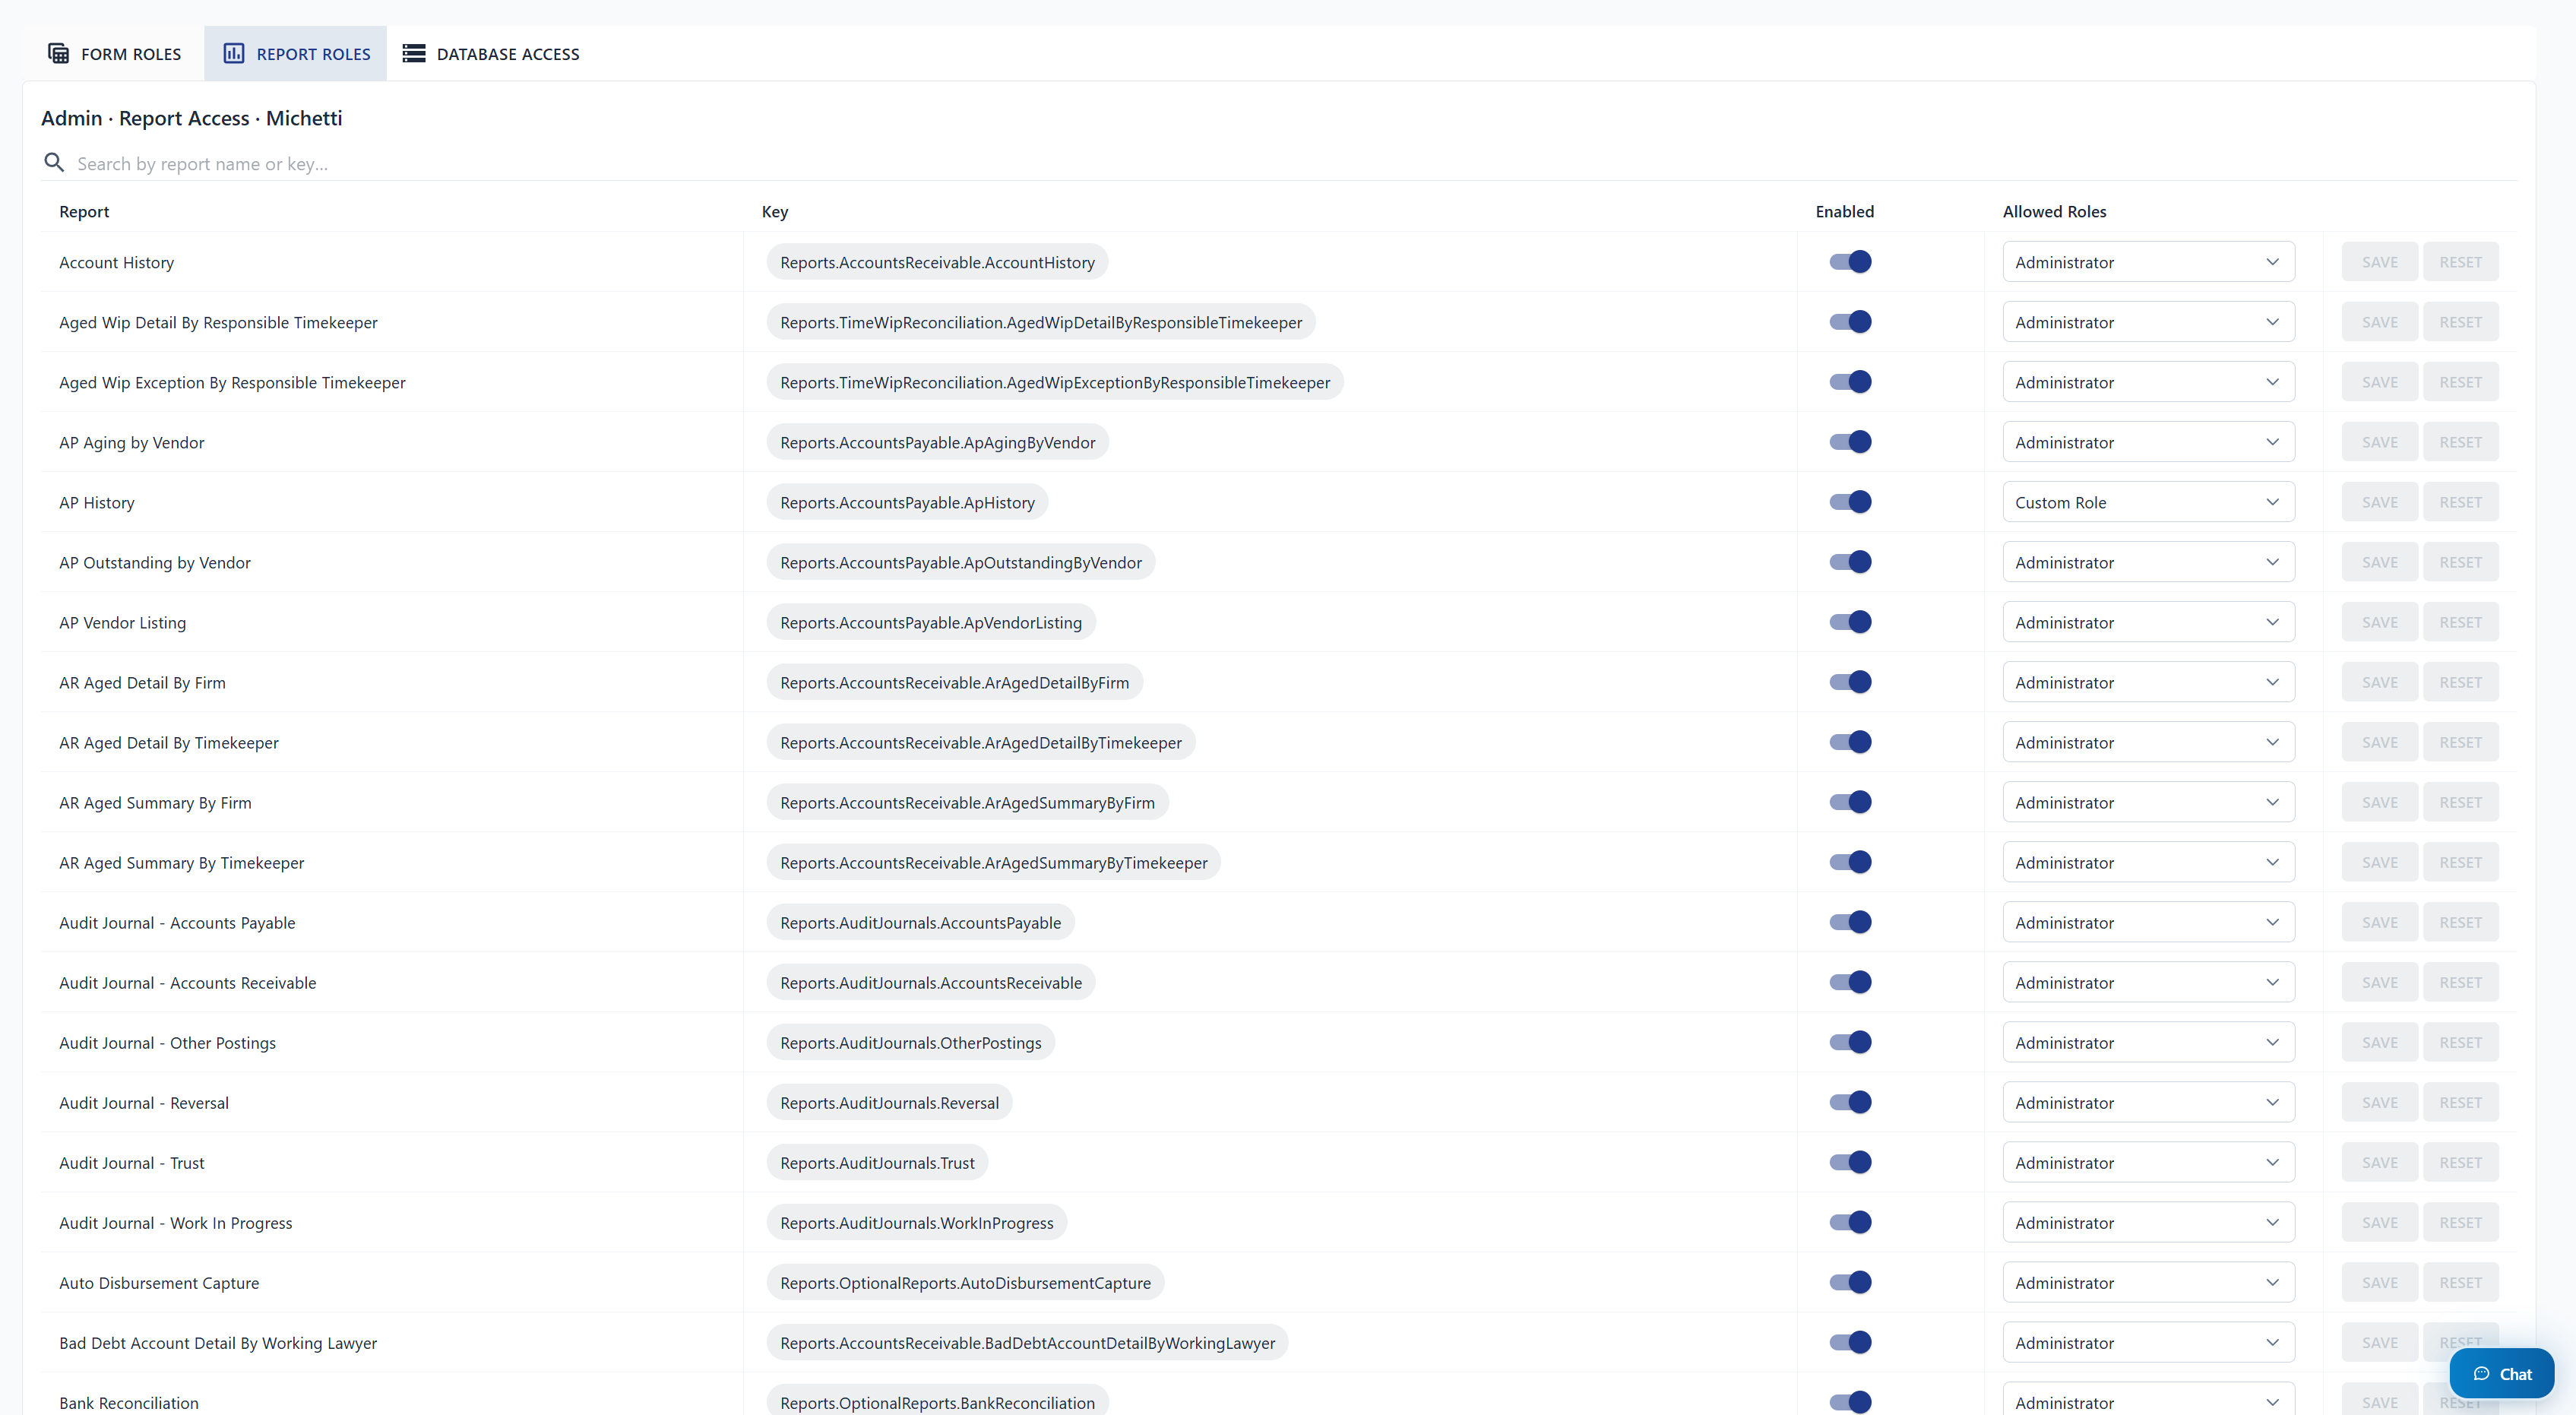
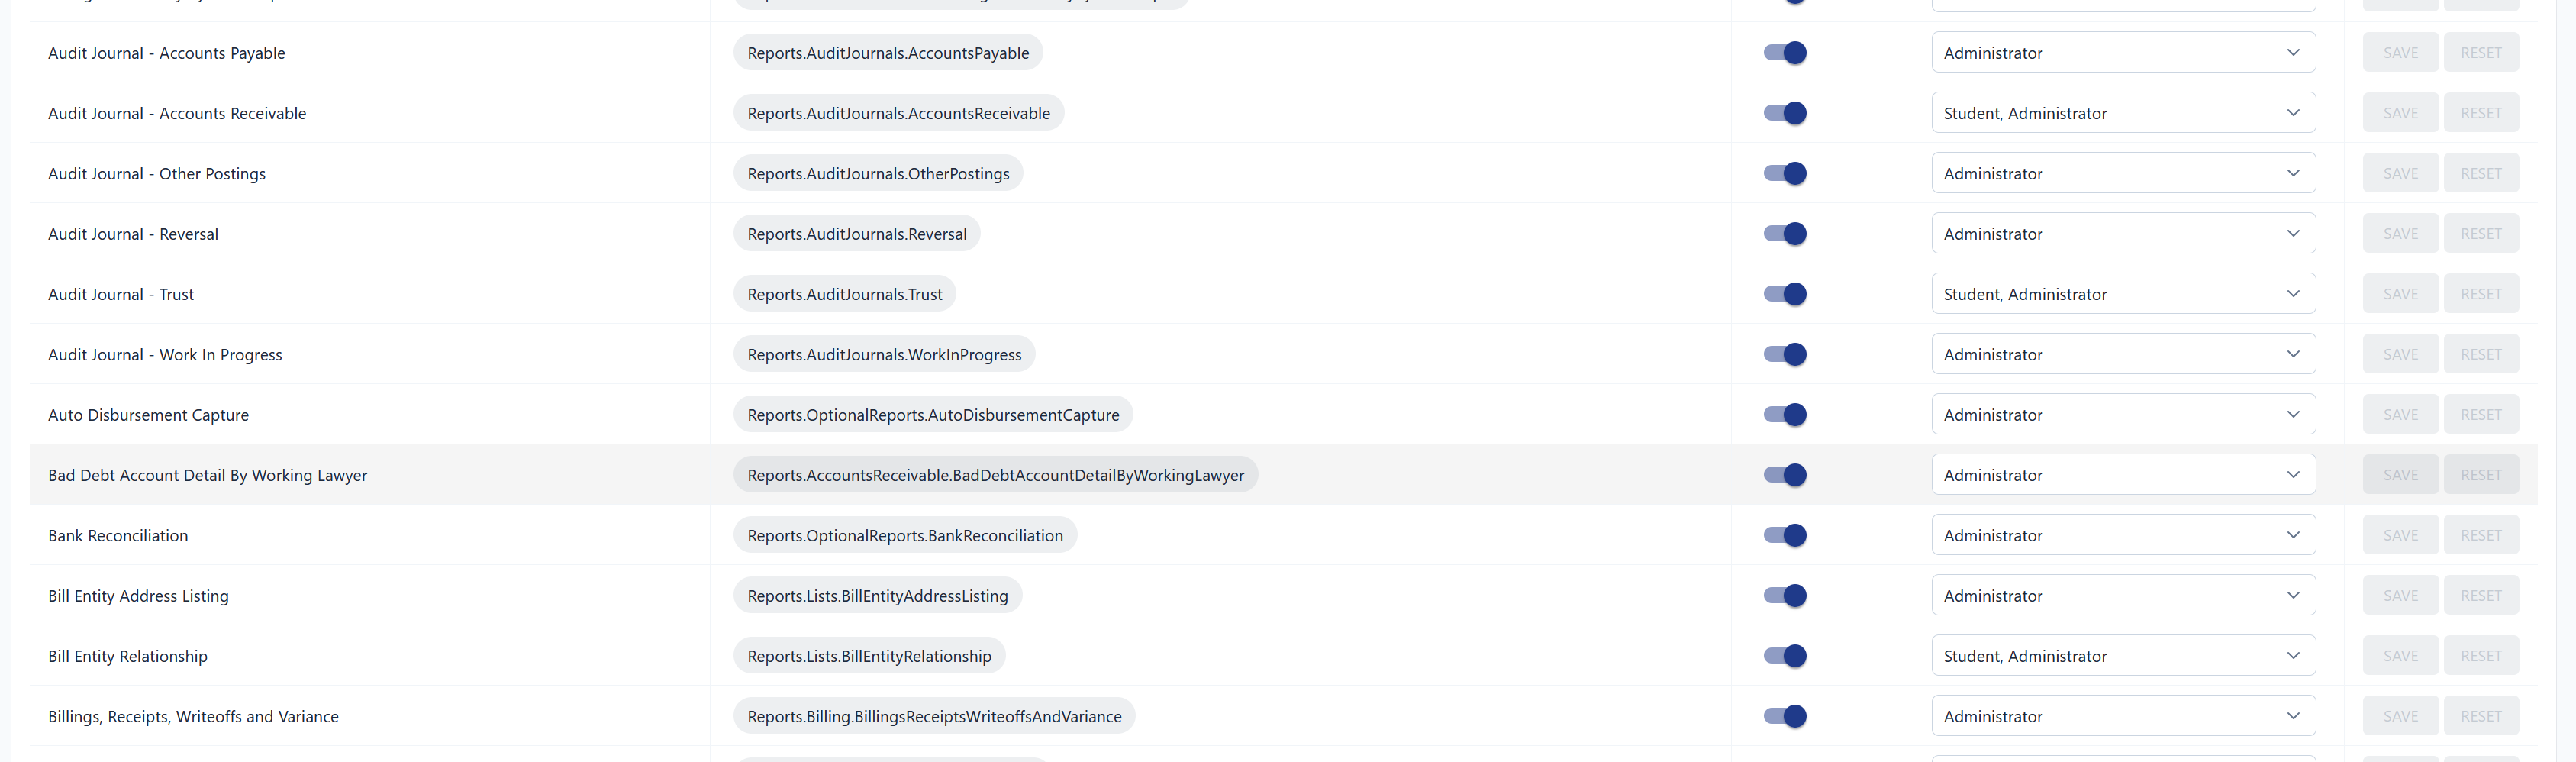
Each tab displays a table of all available resources. Toggle access on or off per role.
Example: Setting Up a Student Role
This walkthrough demonstrates creating a restricted role from scratch.
Step 1 — Create the Role
- Go to User Management and click "MANAGE ROLES".
- Create a new role called "Student".

Step 2 — Assign the Role to a User
Back in User Management, open the user and assign the Student role.

Step 3 — Configure Form Access
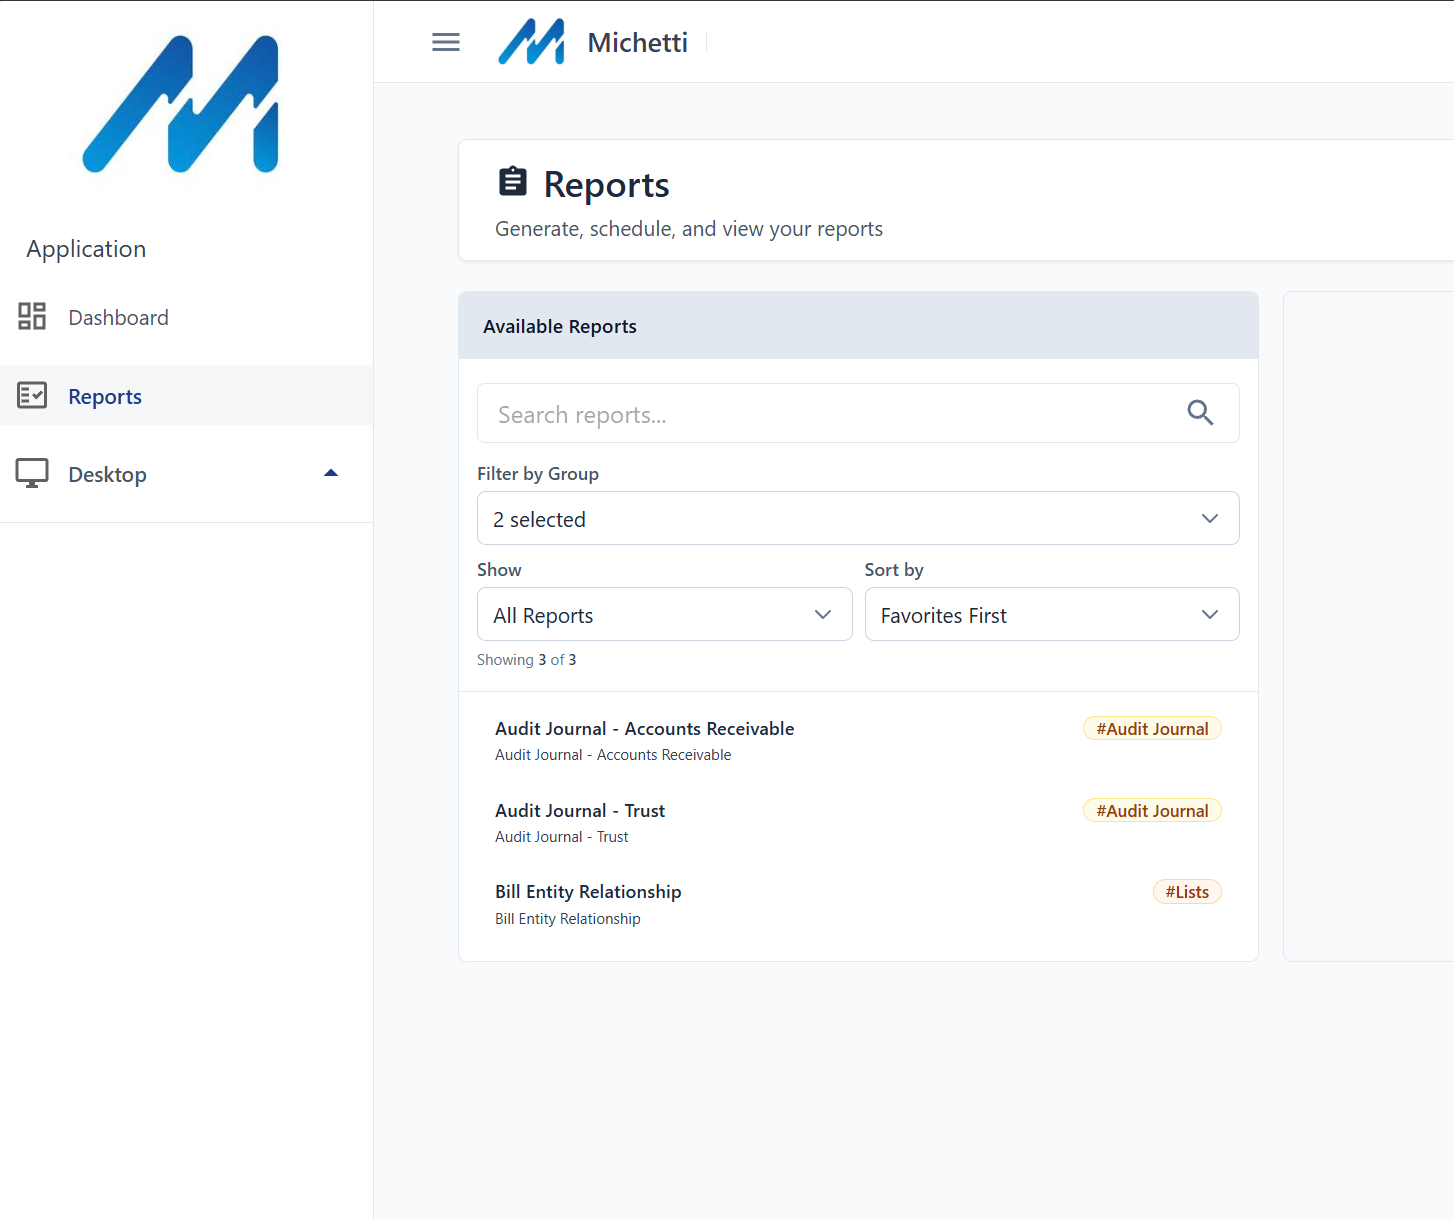
In Role Management, go to the Forms tab and enable access only to the forms the student needs (e.g. Reports).

Step 4 — Configure Report Access
Switch to the Reports tab and enable specific reports (e.g. Audit Journal — Accounts Receivable, Audit Journal — Trust, Bill Entity Relationship).
Step 5 — Configure Database Access (Optional)
If you want the student to access a test database, enable it in the Databases tab. The default database does not need to be explicitly granted.

Step 6 — Verify
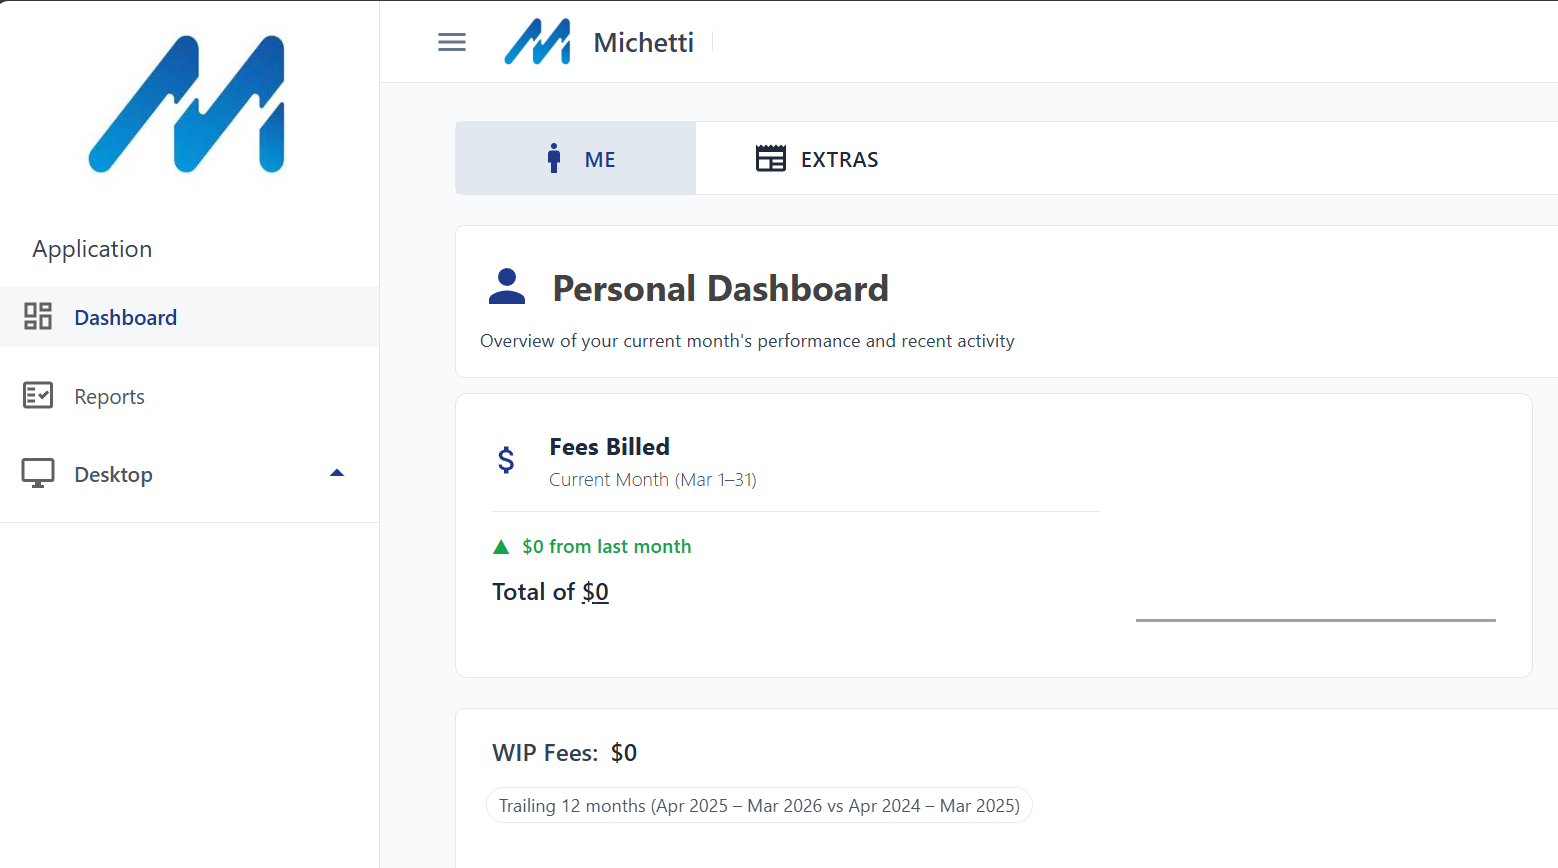
Have the user refresh their browser. They will now only see the forms, reports, and databases you granted.