Posting & History
Once your time dockets are ready, you can post them to make them official. After posting, you can review the full audit trail for any docket.
Posting Time Dockets
-
Check the "Post" checkbox next to each docket you want to post. To select all visible dockets, click the checkbox in the table header.
-
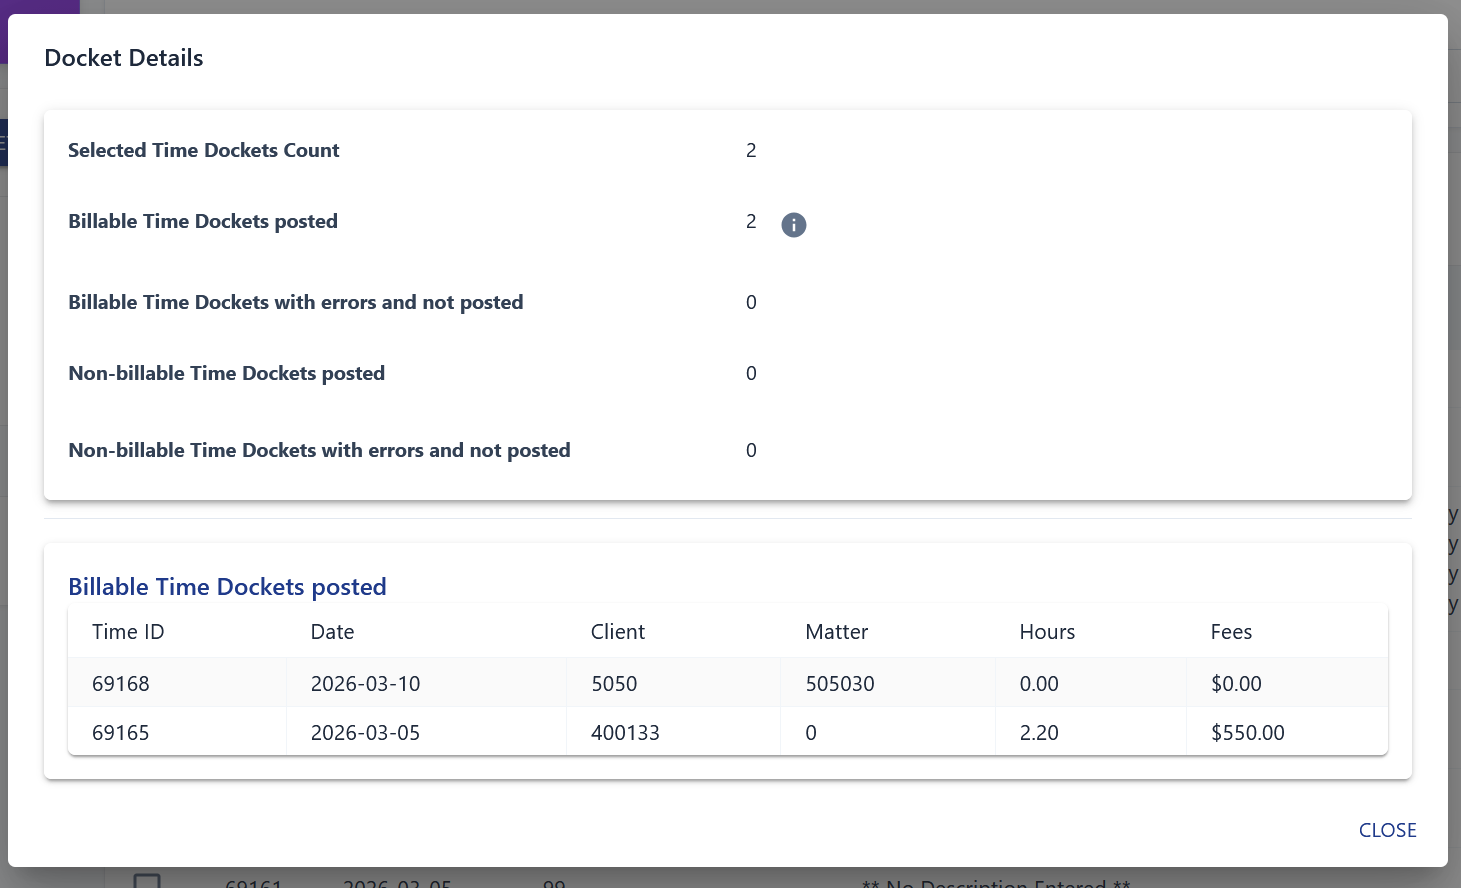
Click "POST SELECTED" in the top-right corner of the docket table.

-
A summary popup will appear showing any dockets that have errors. You can drill down into specific dockets to review the issues.
note
Dockets that cannot be posted (e.g. missing required fields) will appear greyed out and cannot be selected.
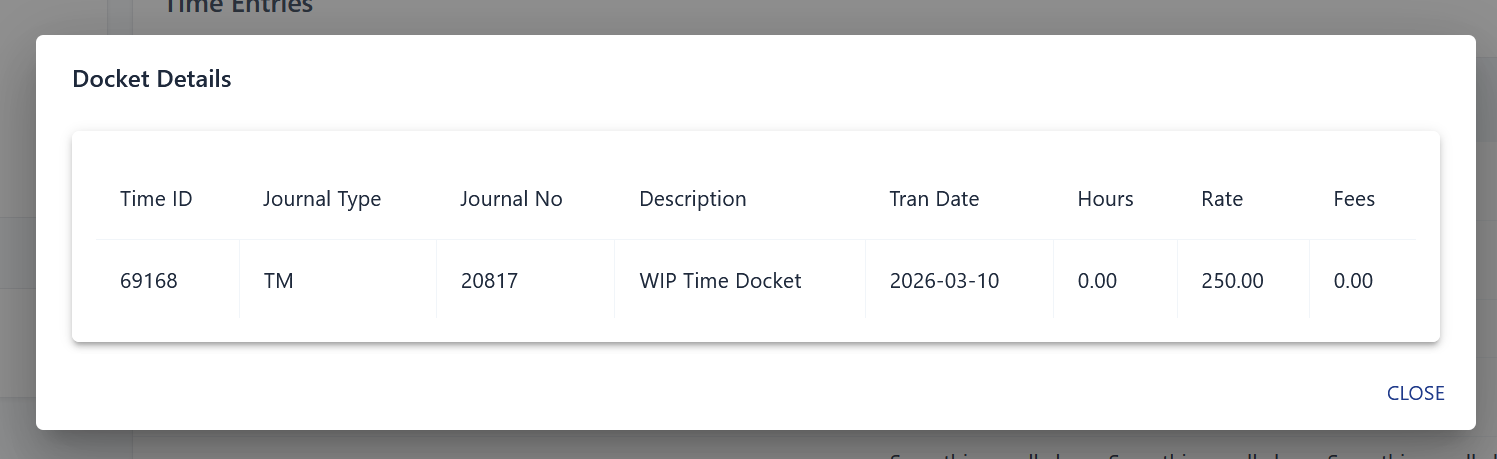
Viewing Docket History
After a docket has been posted, a magnifying glass icon appears in the Actions column. Click it to view:
- The full docket details
- A chronological audit trail of everything that has happened to that docket